
Gluten-free Whipped Shortbread Cookies
Every year I make these super soft shortbread cookies for my Grandfather. He has dentures, and it’s much easier for him to eat without them on, and so I came up with this recipe. It’s been a yearly tradition for my daughter and I to bake them for him around Christmas ever since. I only just realized this year that I have never shared the recipe!
These are pretty much the easiest cookies you could hope to make. Honestly, you probably already have everything you need in your pantry! These are great to make with kids (who from my own personal experience LOVE to be in control of the hand mixer haha) and are really an almost no-fail recipe. You just have to make sure that your butter is super light and fluffy!
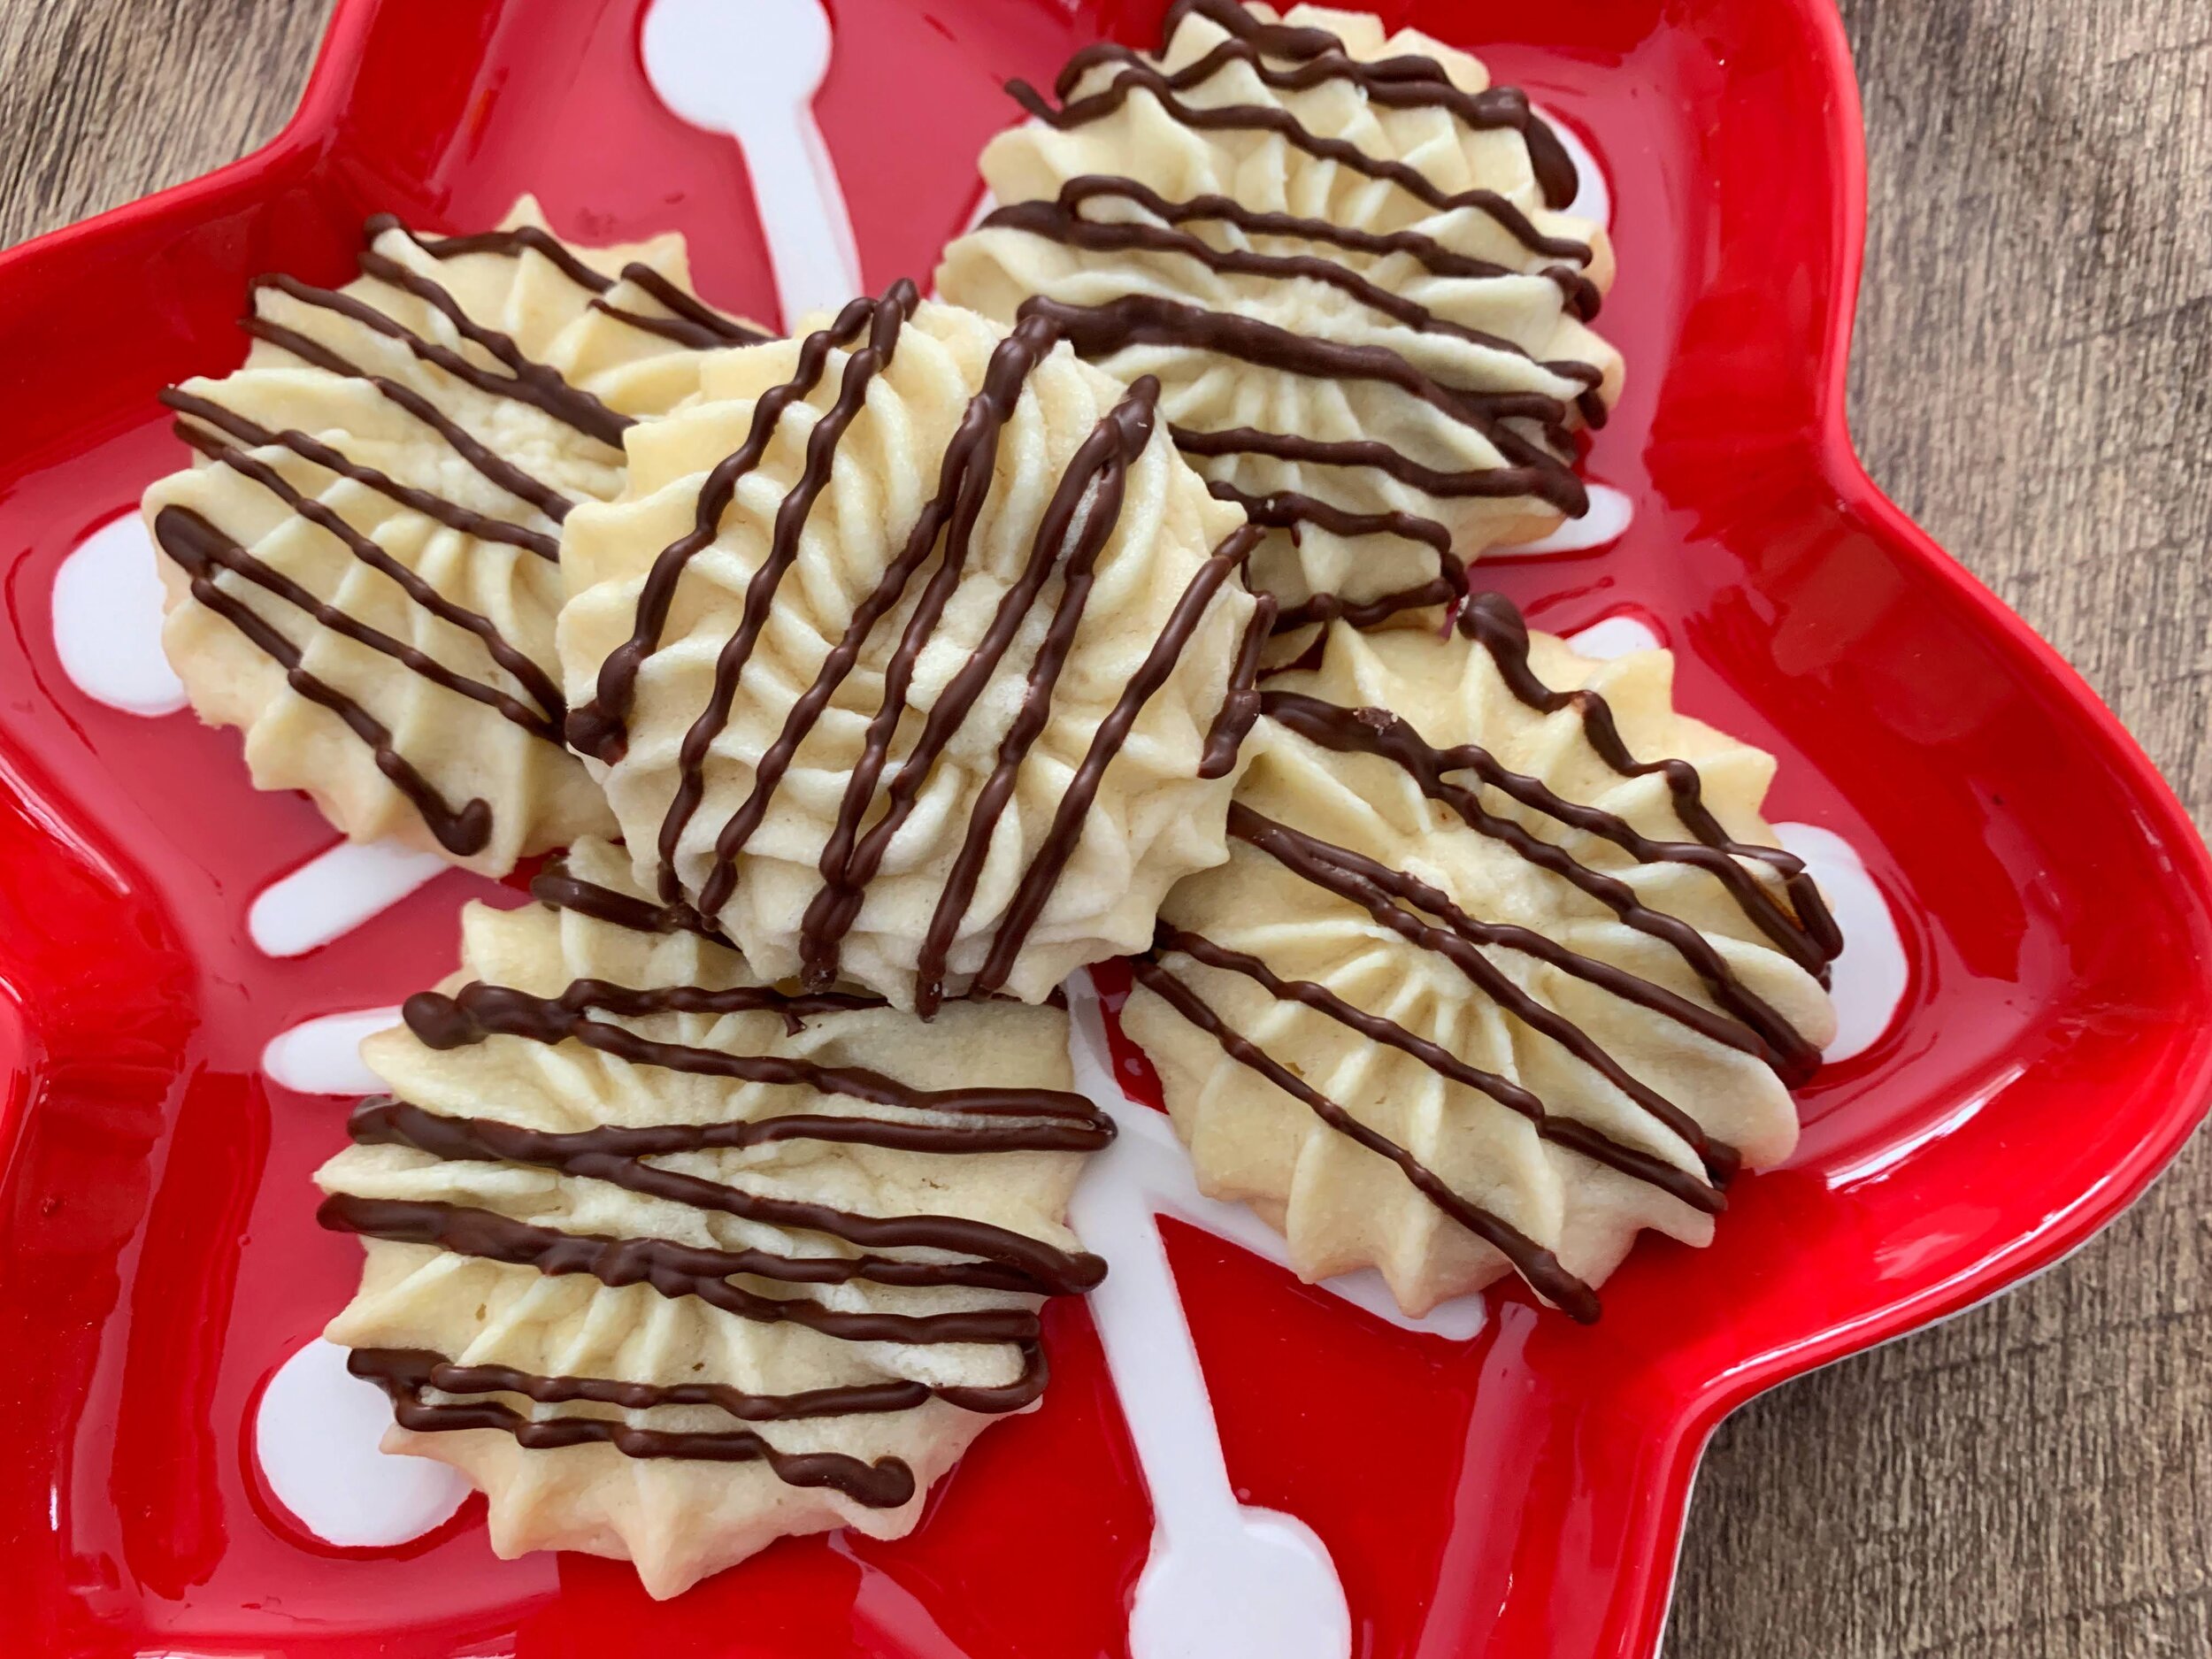
These cookies taste amazing and completely melt in your mouth. They’re awesome with hot cocoa, or coffee in the morning. You can keep them simple, add a chocolate drizzle or even some sprinkles or sanding sugar if you’re feeling fancy.
There’s not much more to say about these other than that you should make them! Oh… I guess that I should mention if you’re not gluten-free you can definitely switch to regular all-purpose flour in this recipe no problem.
I’m not a shortbread fanatic myself but even I can’t turn these buttery bites down. ;)
Gluten-free Whipped Shortbread Cookies
Makes 30 Cookies
Tools: Baking sheets lined with parchment, medium sized bowl, hand mixer, piping bag with star tip, microwave safe bowl.
Ingredients:
1 cup unsalted butter, room temperature
1/2 cup powdered sugar (Lantic is GF!)
1/4 cup corn starch (Fleischmann’s is GF)
1 1/2 cups gluten-free all purpose flour (Bob’s Red Mill 1-for-1 is a great option)
1/4 teaspoon sea salt
1 teaspoon pure vanilla extract
2 tablespoons dark or milk chocolate chips (optional)
Preheat your oven to 300F and line your baking sheets with parchment paper.
In a medium sized bowl, beat the butter and powdered sugar with a hand mixer until super light and fluffy (around 5-6 minutes). Add in the corn starch, flour, salt and vanilla extract and mix on low until combined (will be a sticky dough).
To make the cookies as I have, use an icing bag with a star tip attached, piping the cookies (about 2 teaspoons each) onto the baking sheet about an inch apart. You can also dust your hands with cornstarch, roll into two teaspoon sized balls and press down slightly onto the pan (decorate with sanding sugar or sprinkles before baking).
Transfer your first sheet of cookies into the fridge for 5 minutes before baking. This will help to keep the cookies from spreading. (You don’t *need* to do this but I find it helps).
Bake the cookies in your preheated oven for 12-14 minutes or until the edges are lightly browned and the tops are set. Allow to cool on the baking sheet for 5 minutes before transferring to a wire rack to cool completely.
Once the cookies have cooled, melt the dark chocolate chips in a microwave safe bowl. Heat in 15-20 second increments until melted and smooth. Transfer to a piping bag (or a ziploc you can cut a small corner from) and drizzle onto the cookies. Allow to sit until the chocolate sets (a quick way is to throw them into the fridge for a few minutes!).
Store in an airtight container with parchment in between to prevent sticking (this is only needed if you’ve used the chocolate drizzle). They will keep for 5-6 days.
Happy eating! Xo

